Conditioned displacement feedback for industrial controls, hydraulic presses and valve position measurement. Specify the supply, signal and mechanical interface as one configuration.
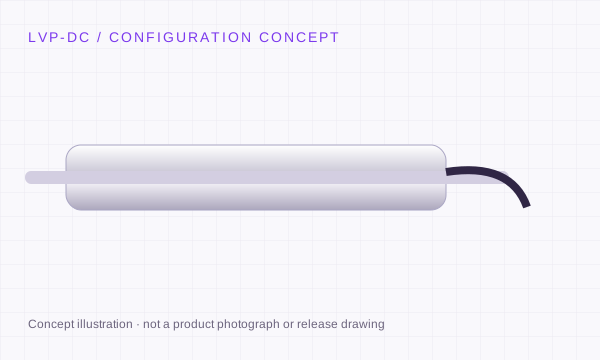
Engineering concept · final geometry requires a released drawing.
LVP-DC: stroke, body and signal review.
Requested measuring range
±2.5 to ±500 mm
Body / installation
Ø19 / 19.05 / 20 mm
Signal variants
4–20 mA · 0–10 V · ±10 V · RS485
Mechanical configuration
Free core or captive guided rod
A built-in conditioner simplifies integration; loop current and voltage variants have different connection requirements.
Confirm these three details before release.
Confirm 12–24 V supply variant, output loading and cable length.
Specify bipolar ± range or total unidirectional travel explicitly.
For RS485, agree protocol, register map, baud rate and reference connection.
Where the configuration fits.
Hydraulic press stroke, test-machine displacement and industrial valve feedback.
Original model review: Macro Sensors HSD 750; Schaevitz DC-EC; HBM WA with amplifier / bridge-interface review. References identify review candidates; compatibility is not pre-approved.
A DC-LVDT request needs an electrical boundary as well as a displacement range. Identify the receiver, supply and signal reference before choosing a housing or ordering a replacement.
01
2-wire loop or powered current output?
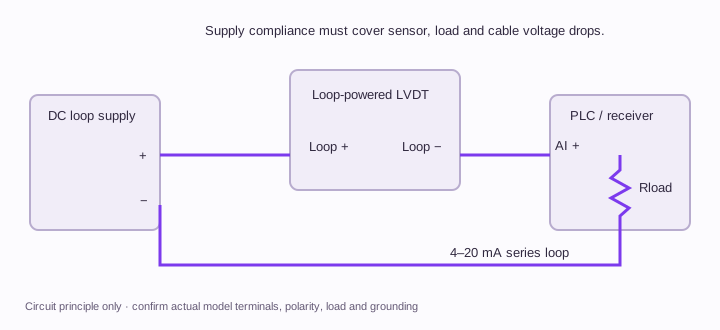
Identify whether the PLC channel supplies loop power or expects an active transmitter. Request the supply range, minimum operating voltage, receiving resistance and cable-drop allowance together.
A 4–20 mA label alone does not establish loop compatibility. Do not connect two powered outputs together.
02
Unipolar voltage or bipolar voltage?
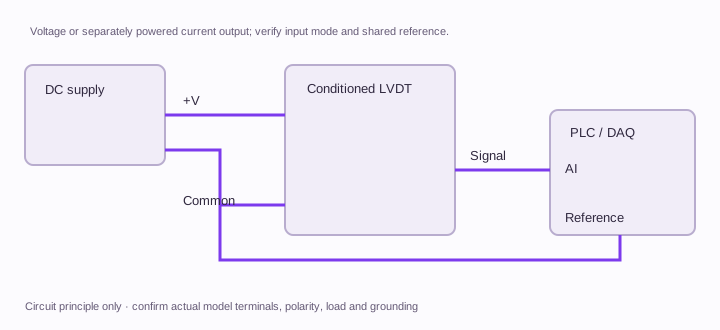
Specify the output at both physical travel endpoints, the null position, receiver impedance and shared or separate returns. State whether a negative rail is available.
A ±10 V signal request does not imply that every transmitter can run from one +24 V rail.
03
RS485 position into which controller?
Request the protocol and register map, signed position units, baud rate, addressing, scaling and grounding. Define update time with the required filtering.
RS485 is a physical interface; it does not establish a register map or direct Orbit compatibility.
Keep the linkage, electrical reference and null consistent.
Mounting and alignment
State the body datum, clamp bore/tolerance and rod attachment. Free-core designs need external guidance; captive rods need the permitted side load and end-of-travel clearance reviewed.
Cable and control cabinet
Provide cable length, connector mating view, screen termination and the receiver input type. Request the exact pin-function drawing for the selected output variant.
Scaling and power-up
Define zero/full-scale positions, output polarity, warm-up conditions and fault handling at the system level. Confirm whether filtering delay is compatible with the control task.
Technical background for these interface distinctions. Manufacturer references do not establish LVP ratings.
LVP-DC: choose travel, body and interface together.
These request references prefill your RFQ. They describe the configuration you want quoted; final model number, A/B dimensions, thread, performance and availability are confirmed on the quotation drawing.
LVP-DC requested configurations · bipolar range and total travel shown separately
Final body/core dimensions, thread and performance on the configuration drawing
Set the installation envelope before dimensions A and B.
Provide maximum body length, core or rod length, datum-to-null distance, thread, connector clearance and permitted overtravel. Dimension letters differ between original manufacturers. Use the exact released drawing for an installation comparison.
Download the family guide, requested configurations and editable RFQ fields. Fill in the PDF, save it in your reader and email the saved file to inquiry@lvdtsensor.com.
Preliminary selection worksheet. Configuration-specific dimensions, ratings, released CAD and measured reports follow review.
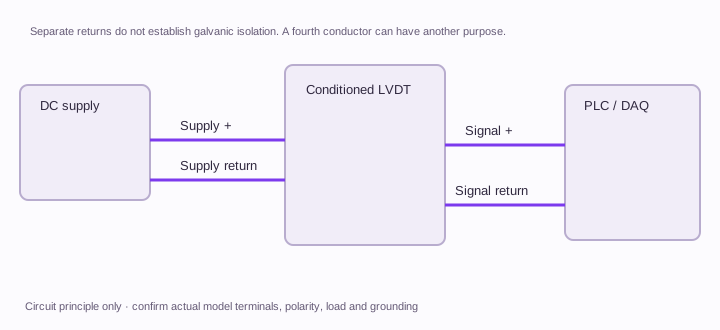
Use these circuit principles to identify the required sensor and conditioner. Cable colour, shield count and connector shell do not establish a pinout.
2-wire DC · loop powered
The loop supply, sensor and receiving load form one series circuit. Check minimum sensor voltage, receiver burden and maximum cable drop.
P1/P2 and S1/S2 identify winding functions; they are not physical connector pin positions. Digital RS485 additionally requires supply, reference, polarity, termination and register-map confirmation. Orbit needs its own network interface.
These assignments apply to the TE HSE / HSI series reference below. They are not a universal LVP connector pinout. Check the exact model suffix and keyed mating-view drawing before connecting.
Original manufacturer series example · letter functions only
Separate the moving core from the coil body. External guidance must maintain clearance; the electromagnetic sensing element has no sliding electrical contact.
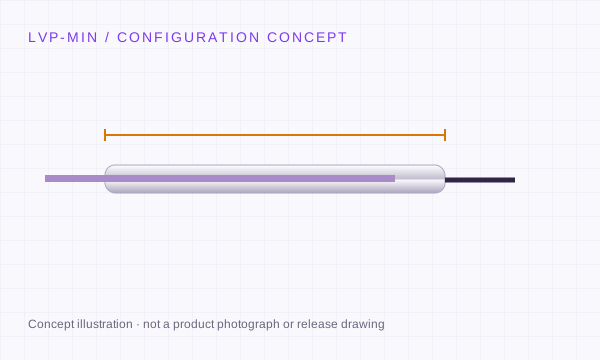
Captive guided rod
A guided assembly simplifies linkage. Review side load, rod alignment, bearings and usable travel before integrating.
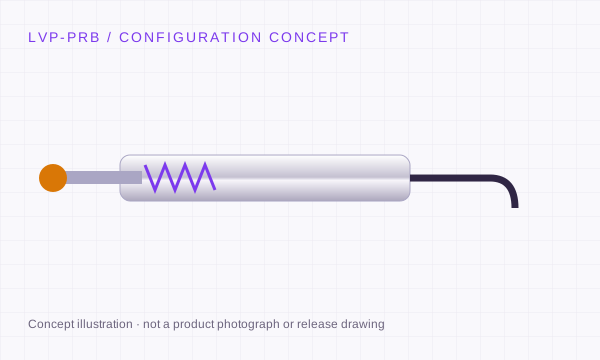
Spring-return probe
A contact tip follows the measured surface. Review tip force, pre-travel, overtravel and contact wear.
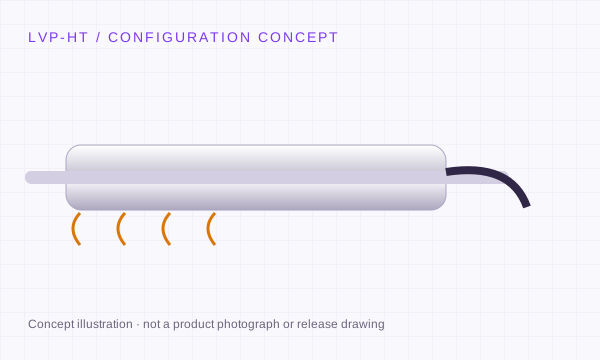
Concept schematics. Non-contact induction does not make bearings, springs or contact tips wear-free.
OPERATING CONDITIONS TO SEND WITH THE RFQ
LVP-DC: define the installation behind the travel.
Illustrative requirement checklists for engineering review. Supply your actual operating conditions and acceptance limits.
Hydraulic press stroke
Provide cylinder working travel, maximum overtravel, linkage geometry, vibration, oil exposure and PLC input. Specify the operating temperature at the sensor and connector.
Industrial valve feedback
State valve closed/open datums, required output direction, linkage play and adjustment access. A position indication must be assessed separately from any protective control function.
Test-machine displacement
Give extension/compression travel, required sampling rate, uncertainty target and fixture movement. Separate the transducer displacement from specimen strain and machine compliance.
Proposed review steps. The quotation and agreed test plan define the actual test points, conditions, tolerances and deliverables.
Check the electrical boundary
Confirm supply at the sensor under the intended load, then record the zero and span outputs using the agreed receiver and cable.
Traverse both directions
Compare indicated displacement with a suitable reference across the agreed working range. Record direction, residuals, return-to-null and the method used for linearity.
Repeat installed conditions
Repeat checks after final clamping, warm-up and the defined temperature condition. Agree acceptance limits before the order; no numerical pass threshold is supplied by this guide.
These steps are a planning framework. No measured LVP data or completed qualification is represented.
REQUEST A CONFIGURATION REVIEW
Define the travel. Match the mechanics. Keep the signal clear.
LVP-DC · DC-DC LVDT Position Sensors
Choose the required configuration, then add the mounting envelope, environment and original model. Drawings, compatibility and commercial scope are confirmed with the quotation.
Need STEP / IGES or a dimensional drawing? State the file format and fixed mounting dimensions. Configuration references are selection requests; final dimensions and ratings follow engineering review.
Before ordering LVP-DC.
Does a 4–20 mA LVDT always use two wires?
No. Loop-powered and separately powered current-output versions use different connections. State the PLC input mode and power arrangement, then request the selected model drawing.
Can a bipolar output use my existing 24 V supply?
That depends on the electronics variant. Request the actual supply requirements and output compliance; a signal labelled ±10 V does not establish the required power rails.
What should I send for a DC-EC or HSD replacement?
Send the full original suffix, supply schematic, output endpoints, body/core dimensions and connector mating view. The replacement review must cover the receiver as well as the sensor.
Are the listed ranges guaranteed for every configuration?
No. The listed values define the selection request envelope. The quote and released drawing identify the exact range, body size, electrical interface and acceptance conditions.
Can I request a CAD drawing and calibration information?
Yes. Include your installation envelope and required file format in the RFQ. Configuration-specific documentation follows engineering review; an illustration on this page is not a release drawing.
Do I need a non-magnetic clamp?
Review the sensor manufacturer’s mounting recommendations. Magnetic materials and excessive clamping force can affect some designs. Specify the clamp material, bore tolerance and torque rather than assuming every metal clamp is unsuitable.
What are the price, minimum quantity and lead time?
Provide the configuration, quantity and delivery destination. Engineering will confirm the quotation, available documentation and schedule for that request.